Delving into essentials for any home kitchen repertoire, the following recipes can elevate meals from breakfast to dinner. Why gallop out the door at a ghastly hour when pancakes may be flipped with confidence at the stove – while wearing jammie pants? And luscious risotto – made with homemade chicken stock – can knock the socks off of guests. So go forth and impress!
CHICKEN STOCK
Building on Bone Broth
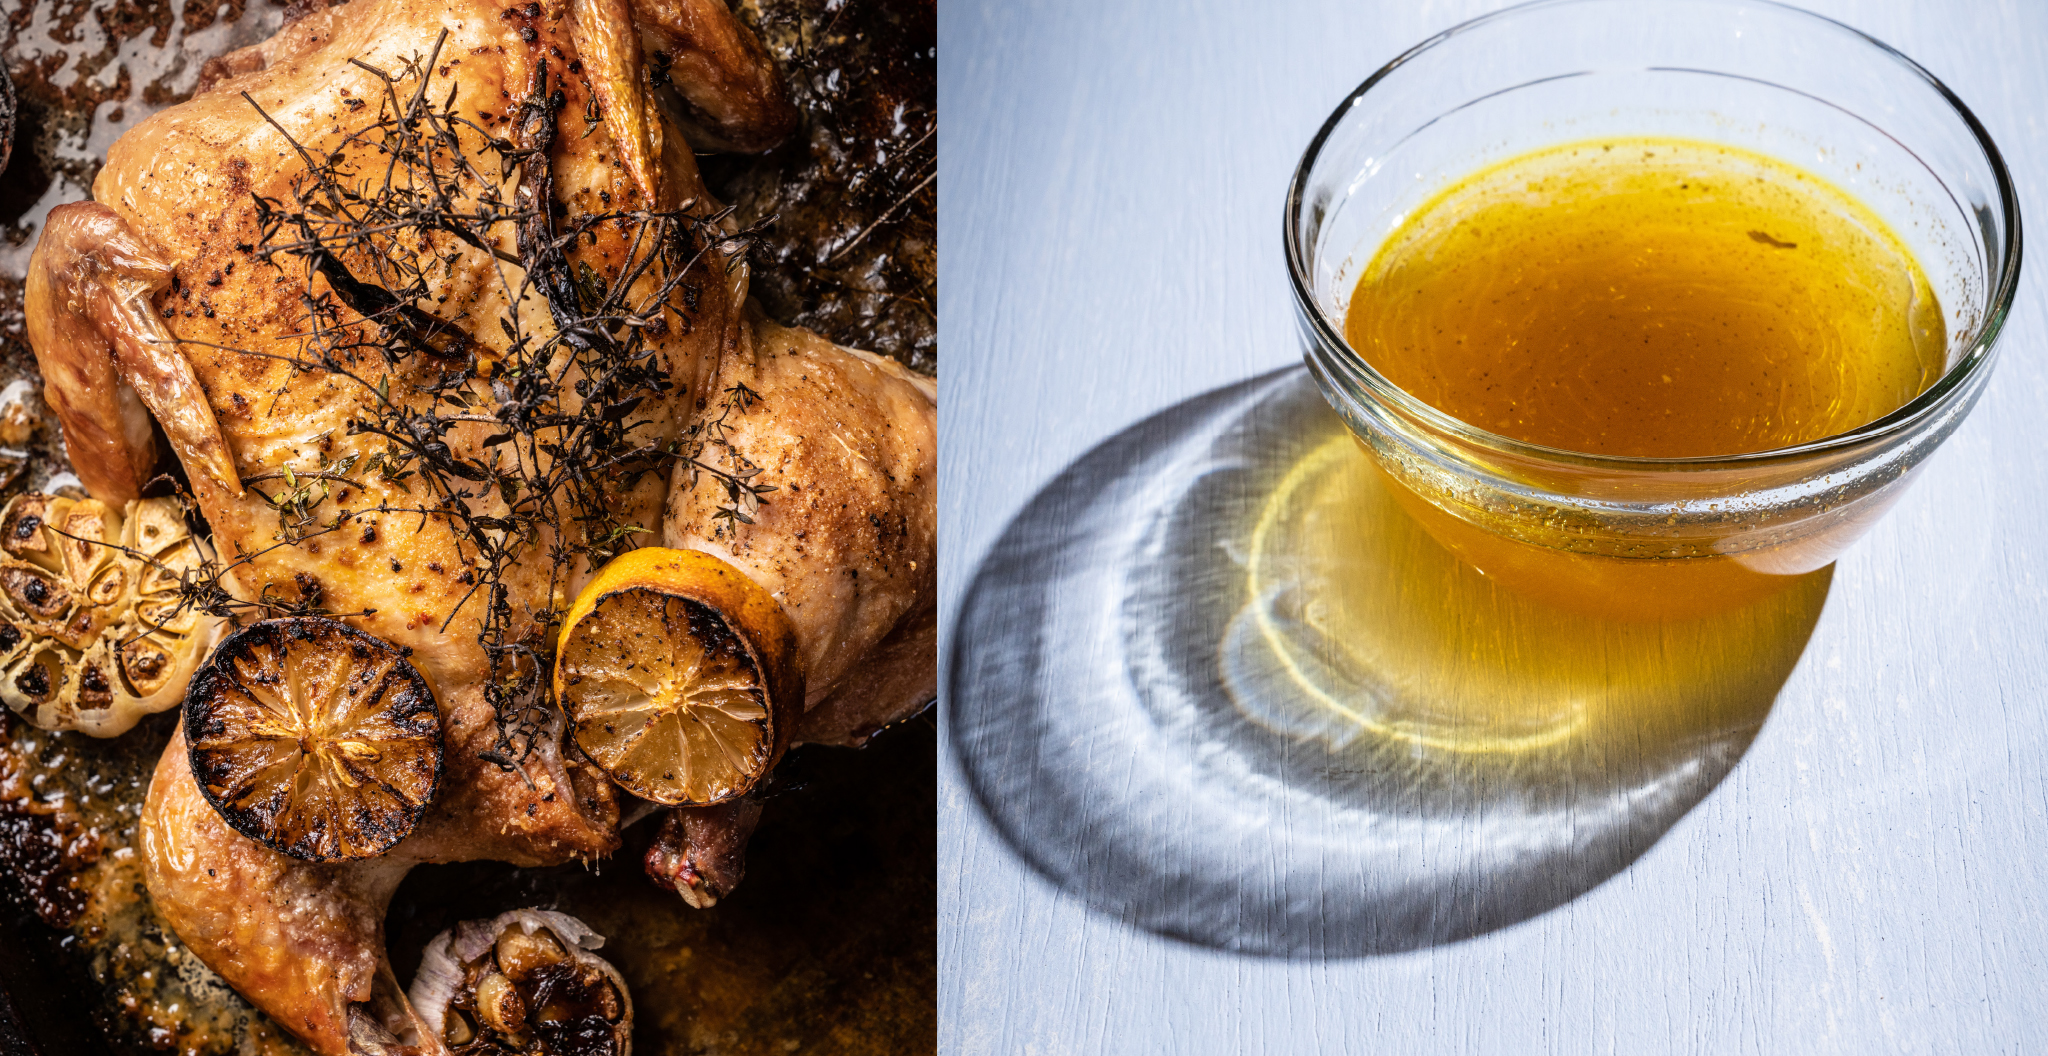
Few things are easier to make than chicken stock, and it’s far tastier and more cost-effective than commercial products since bones that are typically discarded go to an elevated purpose. Plus, there’s no need to squint at boxes or cans in the grocery store to check for preservatives and salt content. However, before tossing ingredients in a pot, getting a little background on terminology is helpful.
The savory liquid foundation of soups, stews, and sauces – and for making rice, couscous, quinoa and dishes such as risotto (see Cooking 101: Risotto on p. 49) – comes in multiple versions, and a small segue into semantics can alleviate some confusion. Nutrient-rich stock is made by simmering your choice of bones (in this case we’re focusing on chicken) with vegetables, herbs, and other flavoring agents; broth eliminates bones and is composed of meat, meat and vegetables, or just vegetables, again with appropriate herbs or spices; bone broth, technically, is just that, bones, though usually with some kind of seasoning. However, many bone broth recipes include onions, carrots, celery, and other ingredients, putting that variation firmly in the stock category. The term bone broth has caught on as a cultural phenomenon that is central to keto, paleo and other specialized diets. And besides, who can resist the alliterative appeal of “bone broth”?
Classic broth is thinner than stock and requires less cooking time. But since the cooking process for stock (or keep calling it bone broth) is a simple matter of longer simmering, the tasty and healthful benefits of extra protein provided by collagen coaxed from bones results in a richer and more satisfying texture. The presence of that gelatinous element means the chilled stock will have a wiggly-jiggly consistency reminiscent of Jell-O – and will melt to a liquid again when heated. Many broth advocates suggest adding a spoonful or two of cider vinegar to the pot in to help break down cartilage and connective tissue and extract minerals and other nutrients from the bones.
Beth Pritch, an account manager at Meris, is a dedicated chicken stock enthusiast who adheres to a more contemporary method of cooking. When she serves a roasted chicken dinner, the carcass – along with any meat remaining on it – becomes the base component placed into her Instant Pot. This wildly popular type of pressure cooker shaves off hours of stovetop simmering. “Then I’ll throw in whatever vegetables I have: celery, carrots, tomatoes, really anything that will add flavor,” she says. “And any fresh herbs I can get my hands on, plus peppercorns, salt, and garlic.” Yellow onions included in the mix have the outer layer of skin removed, while the inner layer of skin in left on to give color to the broth. Cover the contents with water and cook for four hours in the Instant Pot. The result, Pritch attests, is “a really good depth of flavor.”
When cooled to the point where it’s safe to handle, the pot contents are strained through a fine mesh sieve. The yield of about 64 ounces is ready for soup or whatever you like to make. For freezing, Pritch pours the stock into reclosable zip-top bags that are stored flat and stacked, making is easy to break off a desired portion of stock. Another storage approach is freezing stock in ice cube trays and transferring to bags, giving the cook access to modest portions of stock for making a small amount of sauce or reheating leftovers.
On the other hand, Meris photographer Ryan Hulvat goes old-school when simmering stock on the stovetop. After roasting a well-seasoned chicken and letting his family have at it for dinner, the carcass goes into a large stock pot and is topped with refrigerator finds such as red cabbage, mushrooms, carrots and celery, browned lemon slices from the chicken roasting pan, red onions, peppercorns and whatever herbs are available in his abundant garden, including cilantro, lovage, oregano, sage, pineapple sage and others. “I like to use whatever is right here and easy,” Hulvat says. “But you can also see this as an adventure where you go to the store and get all the specific ingredients you want.” He will then allow the pot to simmer, uncovered, overnight on the stove. This method may not work for everyone – additional water may need to added and leaving the pot unattended on the stove for that many hours can be a safety concern – so starting in the early morning on a weekend and checking throughout the day works well.
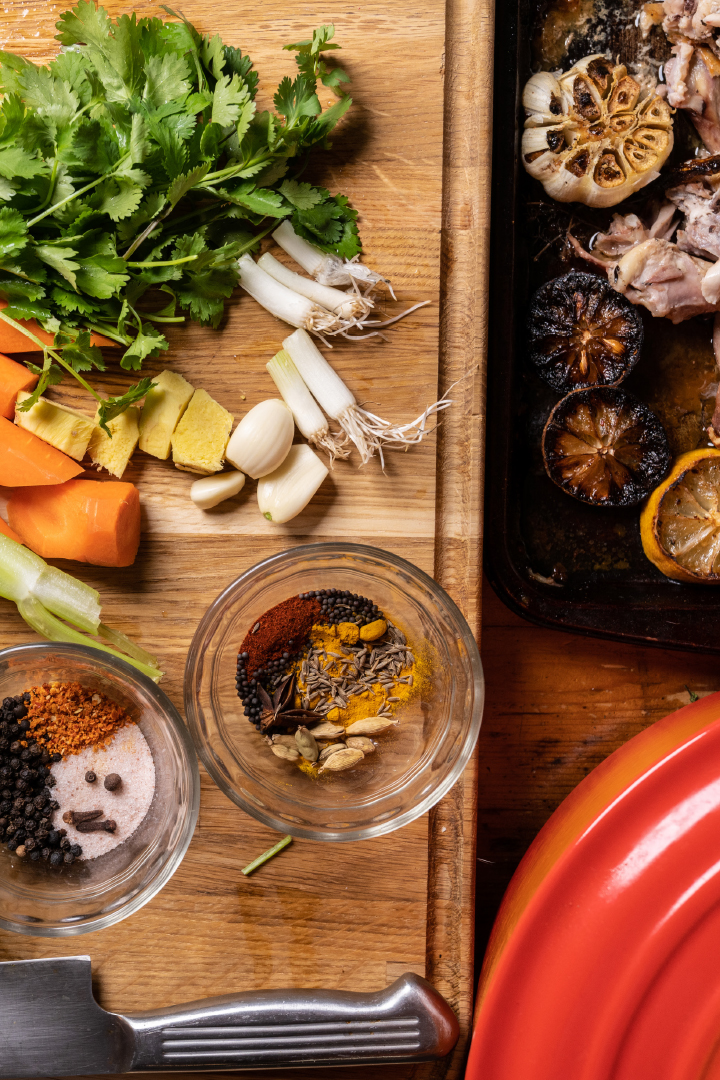
As the chef/owner of Local Mama Catering, Beth Anna Raynock, making copious amounts of stock is an essential part of both her work and home life. “I drink chicken stock for breakfast,” she notes. “It’s so good for you.” She reports that her favorite trio of seasonings, garlic, ginger root, and turmeric, contain anti-viral and anti-inflammatory properties. She simmers her home chicken broth, which includes the roasted organs, for 8 to 12 hours – and if that sounds intimidating, she notes that beef stock requires many more hours. Although stock is something of an adaptable, free-style event, Raynock shares a good basic recipe that will get you thinking outside of the cardboard bone-broth box.
Chicken Stock
INGREDIENTS
1 roasted chicken carcass
2 onions, sliced in half
3 carrots, sliced in half
3 stalks celery, sliced in half
1 bay leaf (optional)
3 cloves garlic
1 piece of ginger root, sliced in half
1 turmeric root (preferably from Jamaica), sliced in half
Salt and pepper to taste
DIRECTIONS
Remove all the meat from the chicken that may be used in soup or for other purposes, transfer to a 1-gallon stockpot, top with vegetables and seasonings and cover with room temperature water. Bring to a low boil, reduce heat, and simmer covered with a vented lid for at least 8 hours. Stir periodically and, if needed, add additional water. If foam forms on top, skim and discard. When satisfied with the flavor, season as desired with salt and pepper. Cover, cool, and strain through a fine sieve. Transfer to storage containers to refrigerate or freeze, or begin transforming the chicken stock into a favorite soup.
Yields 2 to 3 quart

Risotto
A Stirring Experience
Lavishly creamy – without containing a drop of cream – and superbly comforting, risotto has been a classic Italian specialty for centuries. Although this dish finds a place on many contemporary American restaurant menus, a profound number of accomplished home cooks are intimidated by what they assume it to be difficult and intricate recipe. In fact, risotto is essentially just rice cooked in broth, with a mere handful of other ingredients. However, the technique and the type of rice used distinguish this delicacy.
Going with the grain
Starchy rice is essential for successful risotto. (That’s what creates the creaminess.) Arborio, a medium-grain rice, is always a good choice and can be found in most major grocery stores. Premium short-grain varieties of Italian rice such Carnaroli and Vialone Nano can be found in specialty shops and are best tried after perfecting your Arborio game. Avoid less starchy long-grain varieties such as Basmati and Jasmine.
Take the slow lane
The real secret ingredient in risotto is time. The cook will be spending about 20 minutes at the cooktop slowly stirring in broth, one ladleful at a time. Consider this a compact with the universe to never desert your post during the process: Ignore the phone, your partner, the kids, and the dog. Lehigh Valley Marketplace photographer Ryan Hulvat, who spent a college semester in Italy, took a cooking class while abroad and found time spent stirring risotto to be a “meditative experience.” Although current recipe versions that hasten the process – we’re looking at you, Instant Pot – and reduce stirring time are basically missing the point. Generations of busy Italian nonnas probably embraced having this undisturbed “me time” at the stove. Sipping a glass of wine can enhance the contemplative endeavor.
Details, details
The foundation of flavor comes from sweating chopped onions (or other alliums such as shallots, garlic, or leeks) in a pan with butter or oil. The rice is then added to the pan to toast briefly. What comes next, should you choose to include it, is a good splash of dry white wine which adds acidity to the dish and cooks off before incrementally adding the warmed broth or stock to the pan. This method allows the rice to gently shed starch as the stirring keeps them bumping together. The best way to tell when risotto is done is by tasting frequently during the last few minutes: The rice should have a toothsome bite and the sauce should be neither runny nor sticky. Should you run out of broth before the rice is done, simply use warm water as needed. Also, if a spoon dragged across the bottom of the pan leaves a trough that fills in gradually like flowing lava, that’s another indication that the risotto is ready for a bit of butter and hand grated Parmesan.
Tweak the taste
Risotto may be adapted for the season with such additions as fresh peas or asparagus in spring or butternut squash or porcini mushrooms in winter. Serve as a stand-alone first course or complement with proteins for a main course. Grilled shrimp or scallops are outstanding partners, and anyone who’s watched Hulu’s food-centric show The Bear knows that braised short ribs of beef served with risotto is a praise-worthy combo. Presenting risotto on an oven-heated plate is highly recommended: Starch-based sauces thicken as they cool, and preserving the luscious texture of this sumptuous dish is paramount for pleasure.

Risotto
INGREDIENTS
6 cups broth (chicken or vegetable)
1 T olive oil
2 T + 2 T butter
1/2 medium onion, chopped finely
1/2 cup dry white wine (optional)
3 cups Aborio rice
Salt and freshly ground pepper
Handful of grated Parmesan
Olive oil for garnish (optional)
Grated Parmesan for garnish (optional)
Chopped flat leaf parsley (optional)
DIRECTIONS
Heat stock to a low boil in large saucepan; reduce to medium-low heat and keep warm. Warm olive oil and melt 2 tablespoons butter in a large, heavy-bottomed pan over medium heat. Add onion and sauté until translucent. Add rice and stir for about 2 minutes to coat the rice with the butter and oil. The rice should be lightly toasted, with a nutty aroma, but not browned. If using wine, stir it in briskly until wine is fully absorbed. Next, begin gently stirring in hot broth, one ladleful at a time. (At this point, a timer set for 15 to 18 minutes can help to make sure the process is on track.) Continue stirring and adding a ladleful of broth when the previous addition of liquid has been absorbed. Season with salt and pepper to taste. When the rice is cooked al dente, stir in the remaining 2 tablespoons of butter and handful of grated Parmesan. Plate and drizzle lightly with olive oil, and sprinkle with Parmesan and parsley as desired.
Yields about 3 cups
Yield varies by portion size and how much you wish to reserve for making arancini)
Adapted from Mangia Firenze: The Art of Eating & Cooking Italian by Judy Witts Francini, the instructor at the cooking school Ryan Hulvat attended in Italy.
Pancakes
Ditch the Mix and Go For Scratch
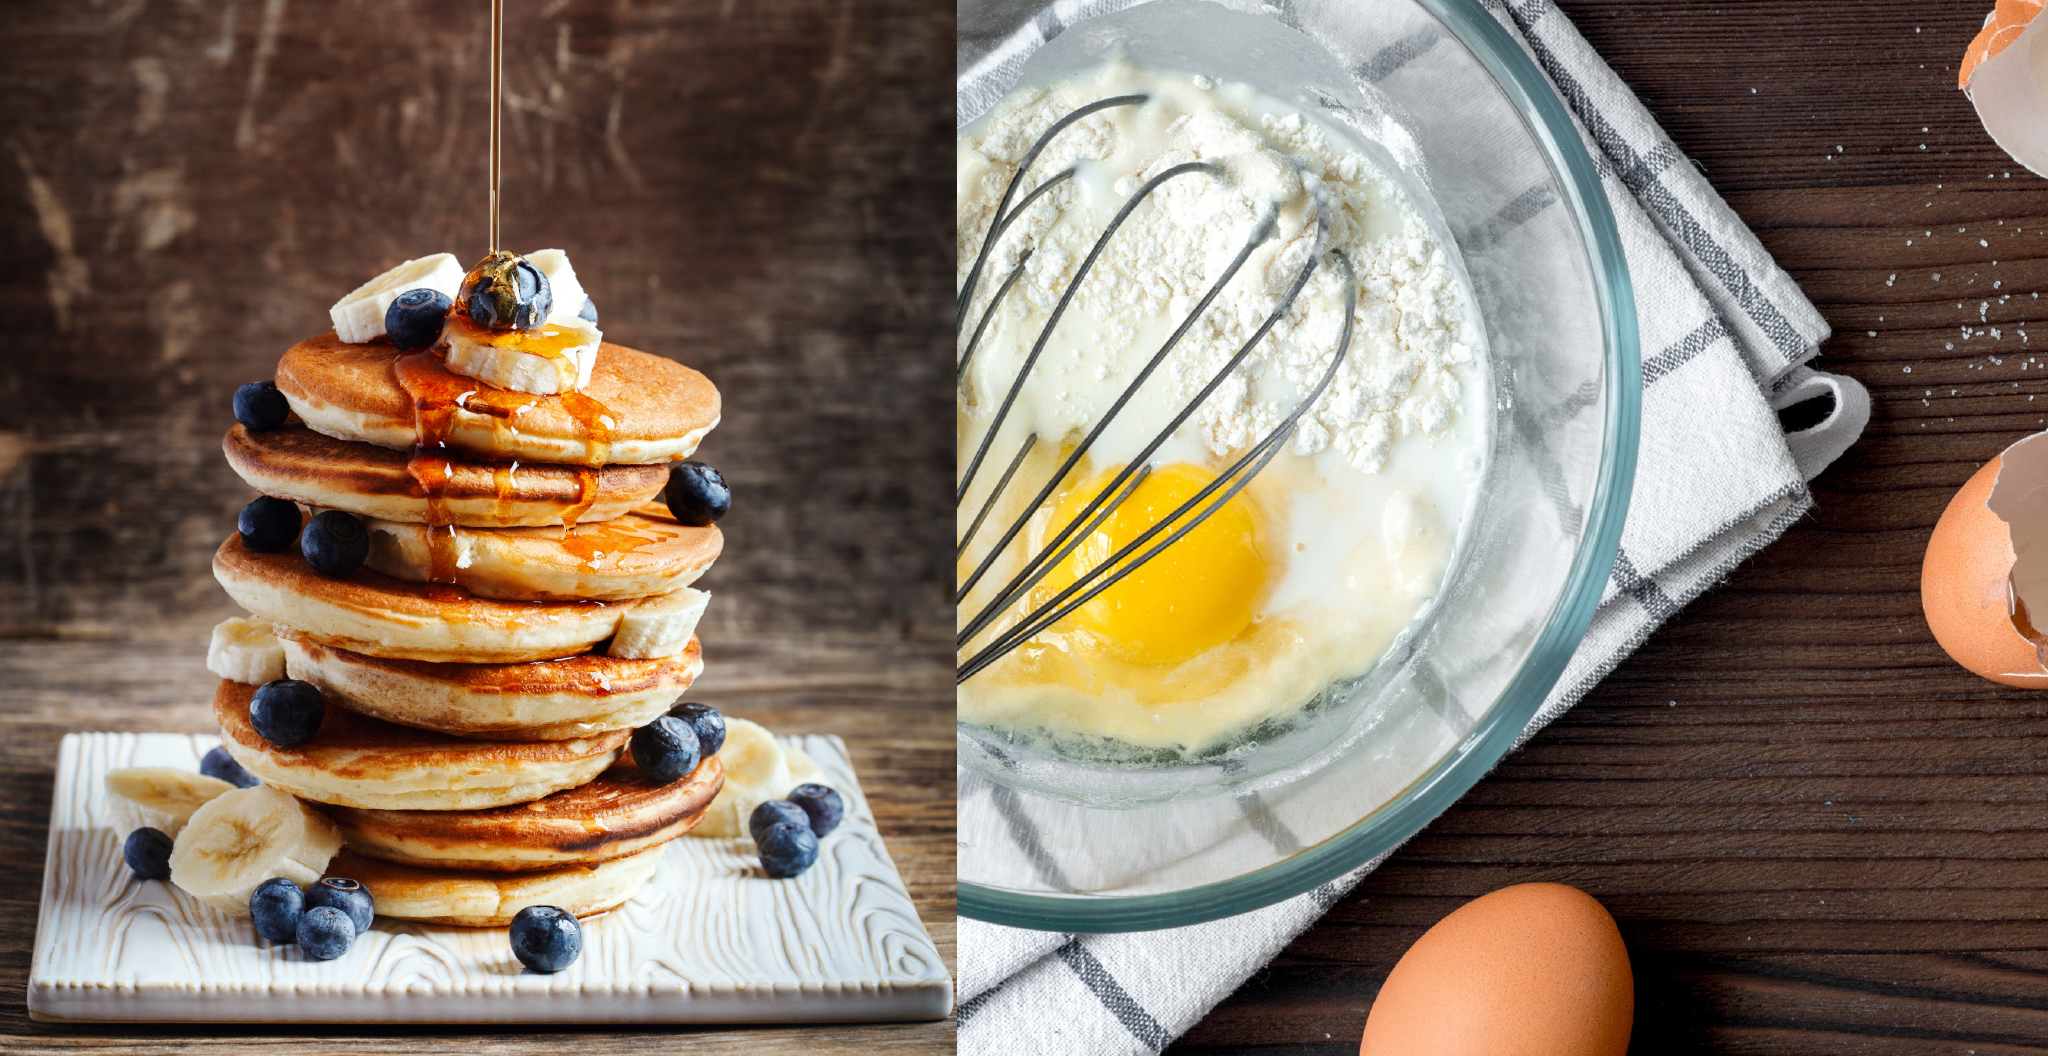
Pancakes, the iconic comfort food of the American breakfast table – based on my personal preferences and observations at diners, not a Gallup poll – combine friendly familiarity with ever-evolving variations based on batter enhancements and multitudinous toppings. They also offer home cooks numerous advantages: Easy-going preparation eliminates the need to get dressed and drive to a dining destination; they’re faster and less complicated to make than cookies or cakes and offer equivalent indulgence; the promise of pancakes have a near-magical ability to rouse kids out of bed and arrive at the table with smiles on their faces.
“Pancakes are one of my favorite food groups,” says Christopher Heath, Corporate Chef for Paxos Restaurants. As such, he ensures that brunch menus at sister establishments blue grillhouse, Melt and Torre feature such appropriate staples as vanilla buttermilk pancakes, ricotta pancakes and cornflour pancakes, respectively, all presented with agreeable condiments.
Top Cut Steak House goes savory by occasionally featuring buckwheat blinis with caviar on the starters menu. “There’s definitely a science behind pancakes, and there are many factors that weigh in to making the perfect pancake. Really, they’re so simple. It’s just a matter of making sure the conditions are right and that you follow your recipe.”
All Rise
First, among the all-important conditions, is making sure the baking powder is fresh. “If you’re not a baker or go through your cupboards regularly, that could be part of your downfall,” Heath explains. Next, for traditional pancakes, he prefers to use buttermilk, which has a higher acidity than whole milk or low-fat milk – and that activates the baking soda or baking powder, which is necessary for the pancakes to rise. (Note: Baking powder contains baking soda.)
Temperature Matters
Eggs, an essential ingredient, should be a room temperature. While some cooks swear by separating the eggs and beating the whites until fluffy, Heath – who has tackled every variation imaginable – views this step as unnecessary. (His one exception being buckwheat blinis because of a textural difference when used in a savory dish.) Milk or buttermilk can be warmed gently in the microwave just to take the chill off. This is vital because when using melted butter as the element of fat, cold eggs and milk will cause the butter to seize and ruin your efforts.
Details, Details
Resist the temptation to prepare pancake batter the night before for the sake of efficiency in the morning. Fresh batter activates quickly and needs to rest only a few minutes. Heath notes that the longer it rests, the tougher the pancakes. And be sure not to over mix the batter: it doesn’t need to be super-smooth and a few little lumps or streaks are fine.
The chef recommends using a nonstick griddle pan, which requires no greasing. A two-burner version accommodates a larger batch size. His personal preference for dishing them up is on a first-come, first-served basis as even the lowest setting on a home oven is still too high to prevent the pancakes from drying out. However, if your stove includes rear vents, turn on the oven and place a plate of reserved pancakes at the rear of the cooktop to capture the benefits of this gently warmed air.
Pancakes cook best at medium or medium-high heat, depending on the settings of your cooktop. Consider the first pancake as a test of the right cooking temperature.
To transfer batter to griddle, use a large kitchen spoon or small ladle, about a 2 to 3 ounces volume. When bubbles appear on the top, they are ready to flip, preferably with a suitably sized spatula. Just don’t keep poking at them – though it is not a tragedy if one of them breaks. And flip them only once.
For additions such as chocolate chips or blueberries, the easiest way to maintain consistency and control is by placing these tasty morsels on top surface prior to flipping. Heath, experienced in running a child-friendly home kitchen, offers one final comment: “If you do this with your kids, it’s a great activity. It’s so simple, there’s nothing to it.”

Chef Heath’s Buttermilk Pancakes
INGREDIENTS
2 eggs, room temperature
2 cups buttermilk, warm
1 tsp. salt
1/2 cup sugar
1 T vanilla
2 T baking powder
3 cups flour
1/2 cup melted butter
DIRECTIONS
In a medium mixing bowl, mix together the eggs, buttermilk,salt, sugar and vanilla with a whisk.
Add the dry ingredients and melted butter then gently mix. Let stand for 5 to 10 minutes. If too thick, adjust consistency with buttermilk.
Using a nonstick griddle, cook the pancakes on medium heat until golden on each side.
Optional additions: Blueberries or chocolate chips
Variations: Substitute half of the flour with corn flour or masa flour, then add 1 extra cup of milk; add cinnamon or pumpkin spice to the batter
YIELDS 12 LARGE PANCAKES
Recipe courtesy of Christopher Heath, Corporate Chef for Paxos Restaurants
As seen in the Winter/Spring 2023 Issue
Click to Visit Our Advertisers

