To a novice home chef, cooking may seem like a mystical, magical process – and it often is, in the very best way possible. Observing the alchemy of ingredients being transformed into delicious dishes is intellectually stimulating, emotionally gratifying, and culinarily empowering. However, even accomplished cooking enthusiasts can benefit from taking a granular look at taken-for-granted basic skills. There’s always a hint or tip or suggestion that could take your cooking game to the next flavorful level, and Good Taste hopes you find a delectable nugget of information on these pages.
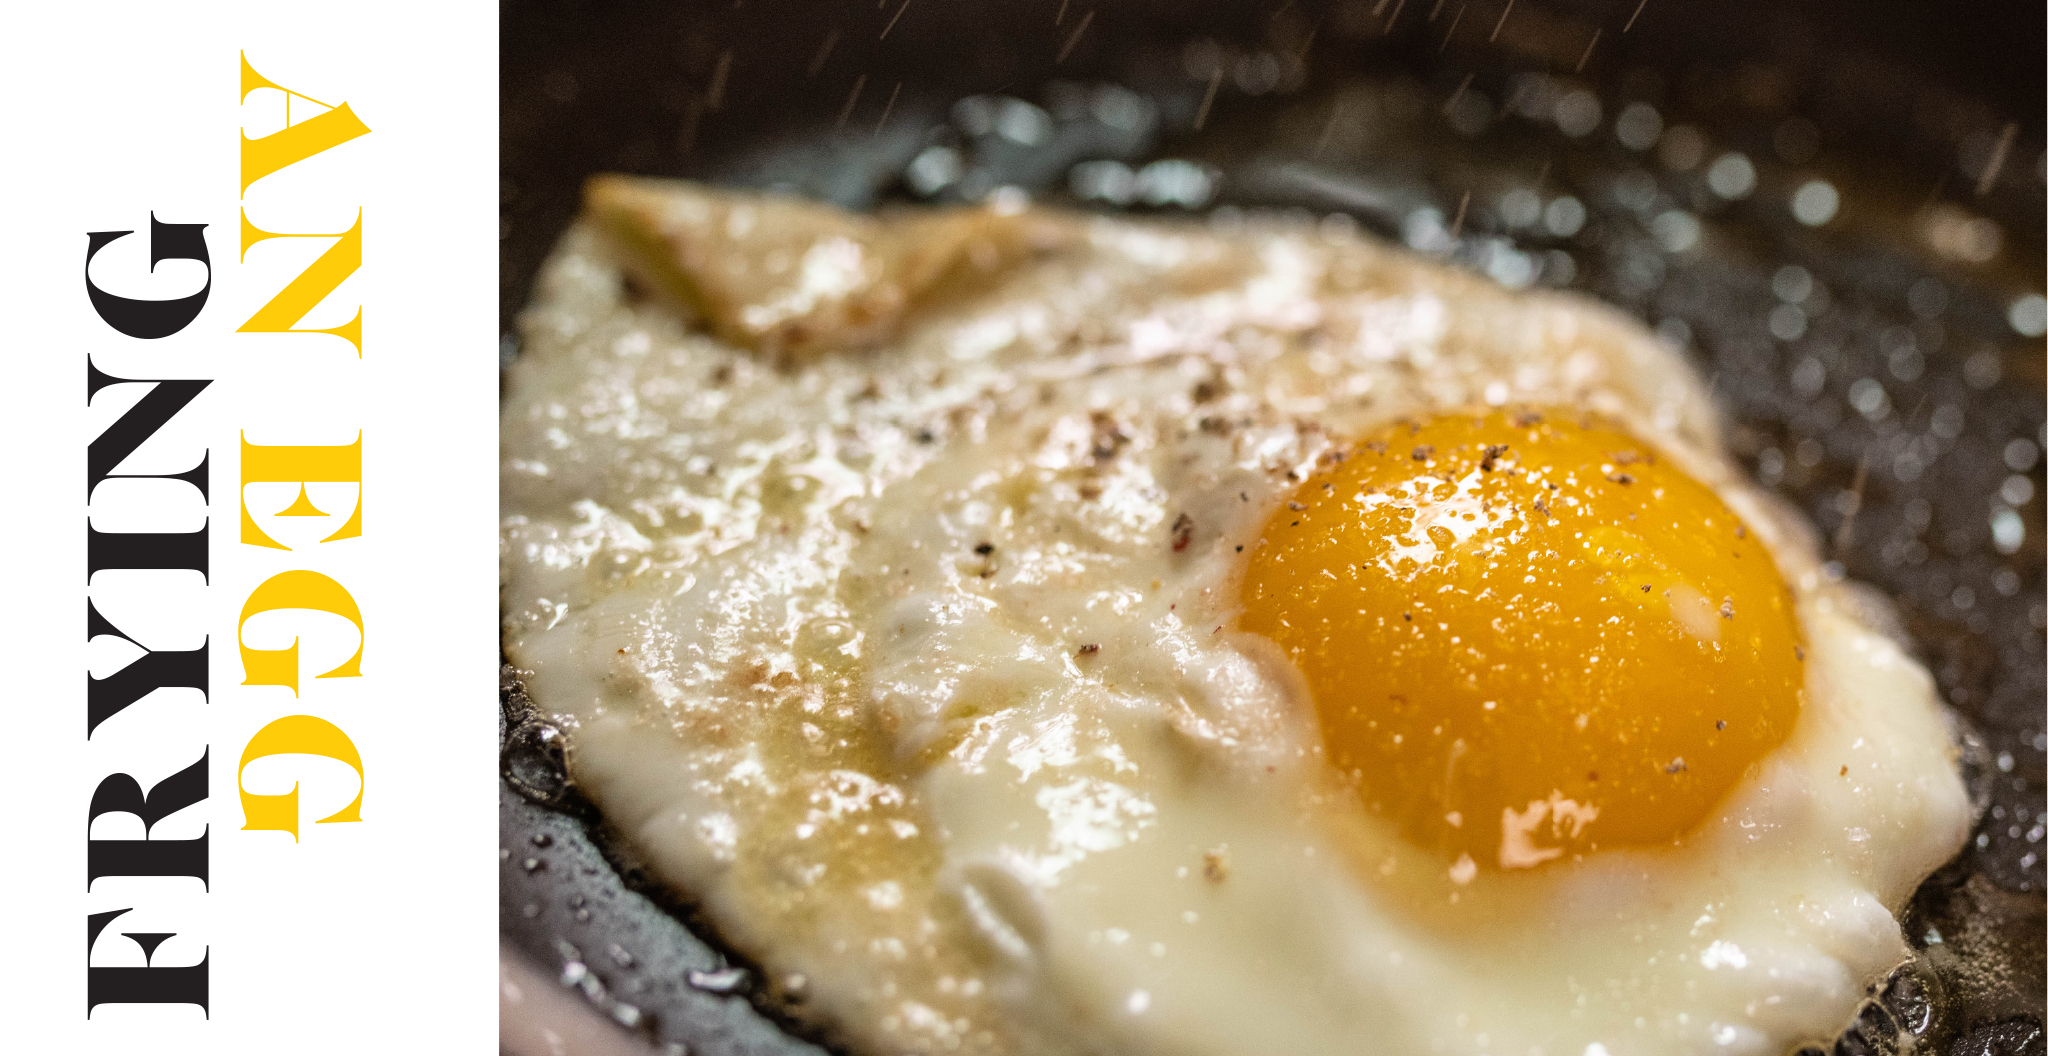
Few foods are as simple and satisfying as a flawlessly cooked fried egg.
However, the process requires a certain amount of finesse, and this guide should provide the tips needed for the spot-on execution of a breakfast icon – which also plays well with lunch and dinner items. Slide one on top of a cheeseburger, a Caesar salad, a bowl of Texas red chili or a few hundred other options for an extra dimension of rich, runny golden deliciousness. In addition, teens can gain easy-peasy cooking experience – and a feeling of empowerment – by trading after-school junk snacks for a quick, hot, and comforting fried egg on toast. A modest calorie count, along with high-quality protein and a slew of vitamins and minerals, make this shell-encased everyday delicacy a powerhouse snack.
Heading into a home kitchen for an exclusive Lehigh Valley Good Taste demonstration, Beth Raynock, chef/owner of Local Mama Catering, offers pointers for stepping up your fried egg game:
• Room temperature eggs fry more evenly.
•Taking them from the fridge 1 to 3 hours beforehand better ensures that the yolk will remain runny while the whites finish cooking.
•Local organic eggs from pasture-raised chickens deliver a nutritional edge, typically offering twice the vitamins A and E and half the cholesterol of commercial eggs. In addition, the yolks are larger, more deeply colored, and way more flavorful.
•Fresh eggs have stronger proteins that will result in a tidier, better-rounded shape: the fresher, the better.
•Hard-boiling is best for older eggs because they’re easier to peel.
•Upgrade salt and pepper to items such as pink Himalayan sea salt or Maldon sea salt flakes and freshly ground high-quality peppercorns.
•These long-lasting modest investments will enhance the fried egg’s taste and texture, along with almost anything you cook.
•While butter is the classic choice for frying eggs, dairy-averse cooks can substitute olive oil or avocado oil.
•Bacon grease – which you should always save and refrigerate – will tantalize omnivore palates.
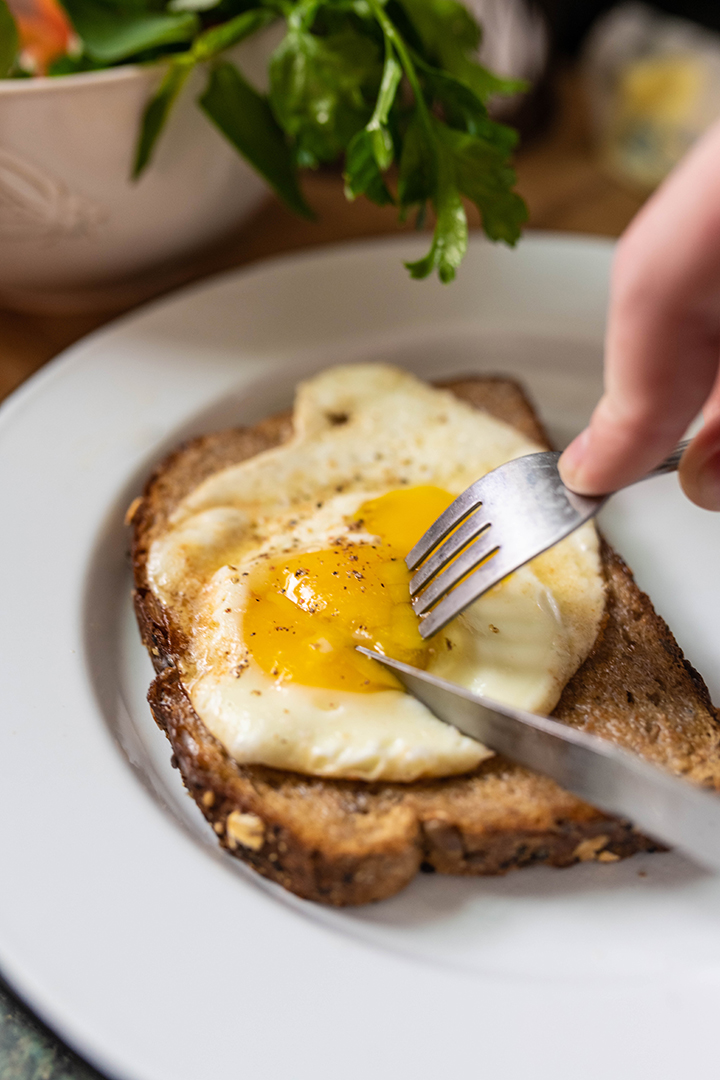
Sunny-side up egg
INGREDIENTS
1 tsp. butter (or substitute of choice)
1 large fresh egg
Salt and pepper to taste
DIRECTIONS
Heat an 8-inch nonstick pan over medium heat (a cheap pan is fine, and this size is also suitable for cooking 2 eggs). Add butter or substitute and swirl or brush to coat surface. When hot, slide the egg from the ramekin into the pan. (A well-heated surface is essential for even cooking and to prevent sticking.) Cook for about 3 minutes, until whites are set.
(The whites surrounding the yolk should change from translucent to opaque.)
Note: Do not shake pan or prod the edges of the egg: Leave it alone! Slide onto plate or slice of toast and season as desired with salt and pepper.
Over-easy: Firmer yolk fans can slide a thin spatula under the egg, flip, and continue cooking for 10 to 30 seconds to taste before removing from pan.
Serves 1
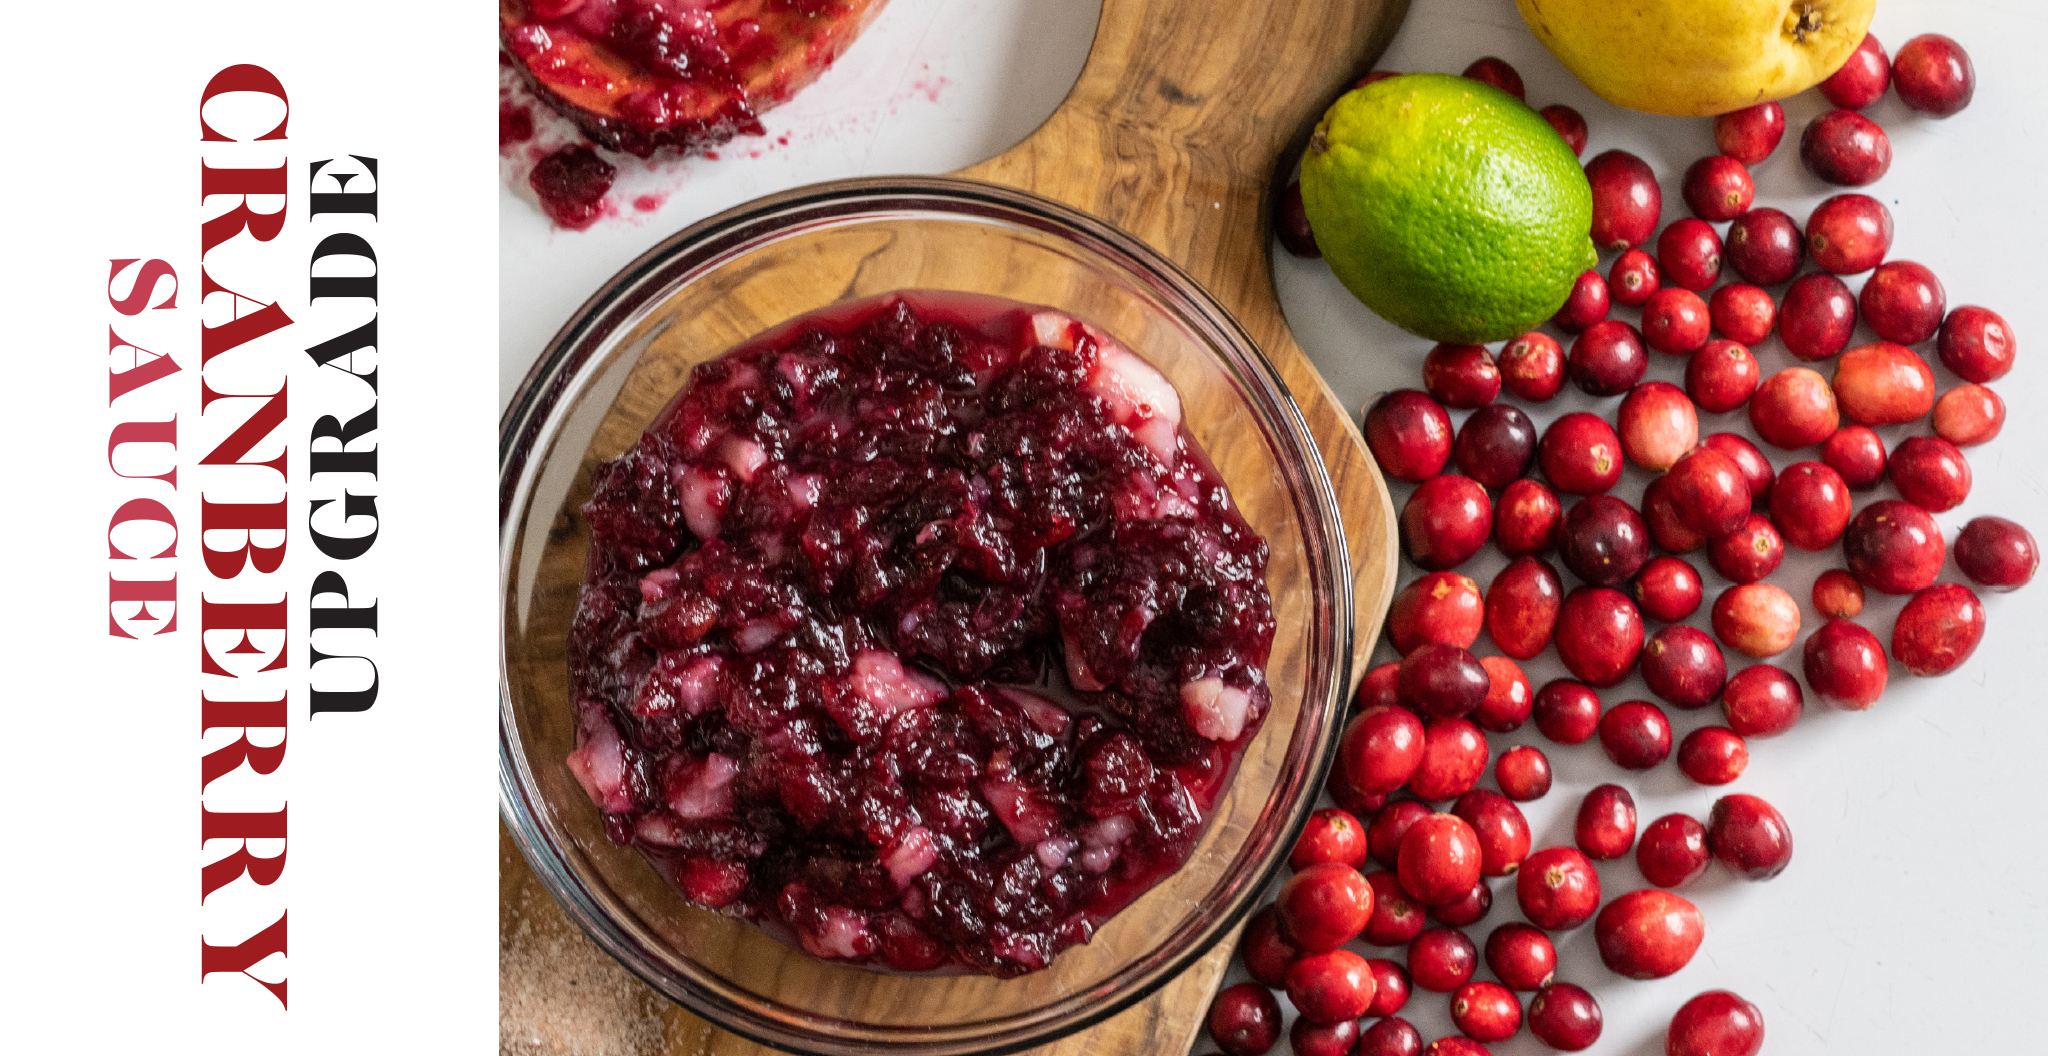
Whether the centerpiece of a Thanksgiving dinner is roasted turkey or tofurkey – or perhaps both – cranberries remain the essential sidekick to this holiday meal.
Since family members cling to certaian favorites, chances are good that at least one guest will maintain a strong attachment to straight-from-the-can jellied cranberry sauce (with hallmark indentation rings as the sign of authenticity). Since a bowl of jewel-tone cranberries requires only a modest amount of space on a well-stocked table, adding a scratch-made variety or two will complement – and elevate – your bountiful feast.
Relish vs. sauce
Both of these condiments may be prepared and chilled several days ahead, reducing stress before show time. Since relish is uncooked, it delivers a tangy taste and textural complexity – not to
mention being a snap to make in a food processor.
A 12-ounce bag of cranberries, one sliced orange (with peel) and a cup of granulated sugar are all that’s required for a base recipe that can be tweaked as desired, such as adding a small handful of walnuts. Pulse until broken down to small “crumbs,” but stopping before the mixture becomes mushy.
Basic sauce also requires minimal effort as the fresh cranberries simmer in water, sugar, and orange zest until the berries burst. Personalize with favorite spices or go full-on exotic by preparing cranberry chutney by stirring in chopped green apple, golden raisins, cardamom, ground cloves, grated ginger, some thinly sliced Thai chile pepper (as desired) to the simmering mixture, along with a cinnamon stick and piece of star anise, both of which should
be removed before storing.
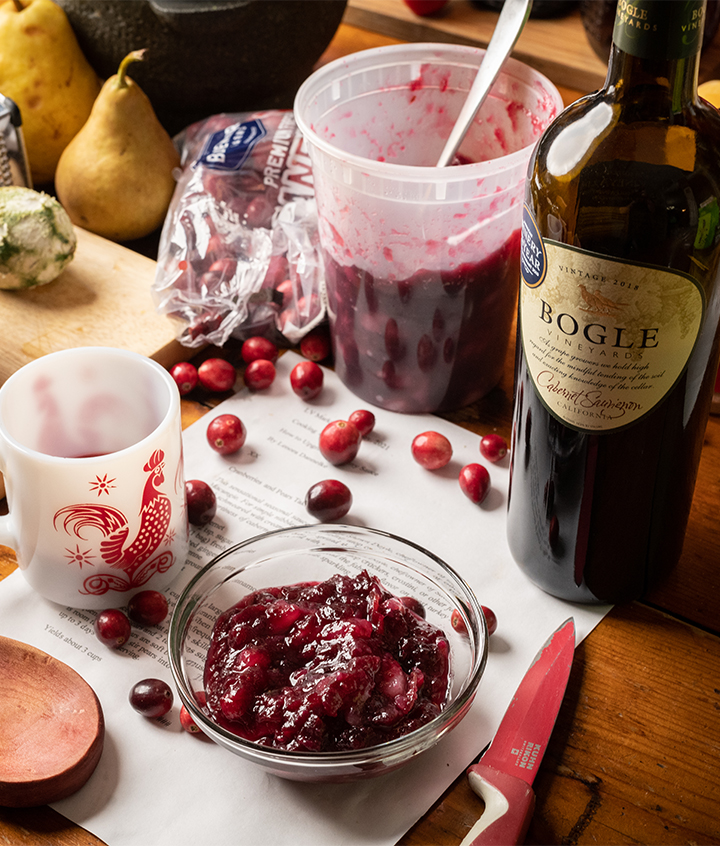
Cranberries and Pears Take a Cab
INGREDIENTS
1 cup cabernet
1 cup + 2 tsp. sugar
12 oz. (1 bag) fresh cranberries
1 tsp. grated ginger
1/8 tsp. cayenne
1 dash each: ground cloves,
cinnamon, salt
2 tsp. lime zest
2 pears
DIRECTIONS
Place wine and 1 cup sugar in large saucepan. Warm over medium-high heat, stirring until sugar is dissolved. Add cranberries, ginger, cayenne, cloves, cinnamon, salt, and lime zest and bring to a boil. When berries begin to pop, reduce heat to medium-low and simmer for 20 minutes, stirring frequently, until mixture thickens. Set aside to cool. Peel, core and dice pears. Coat medium skillet with cooking spray and warm over medium-high heat. Add pears and 2 teaspoons sugar to pan. Cook about 2 to 3 minutes, stirring frequently, until pears are soft but not mushy. Cool 10 minutes. When cranberry mixture is room temperature, stir pears into sauce. Transfer to a covered container and refrigerate up to 3 days before serving.
Yields about 3 cups
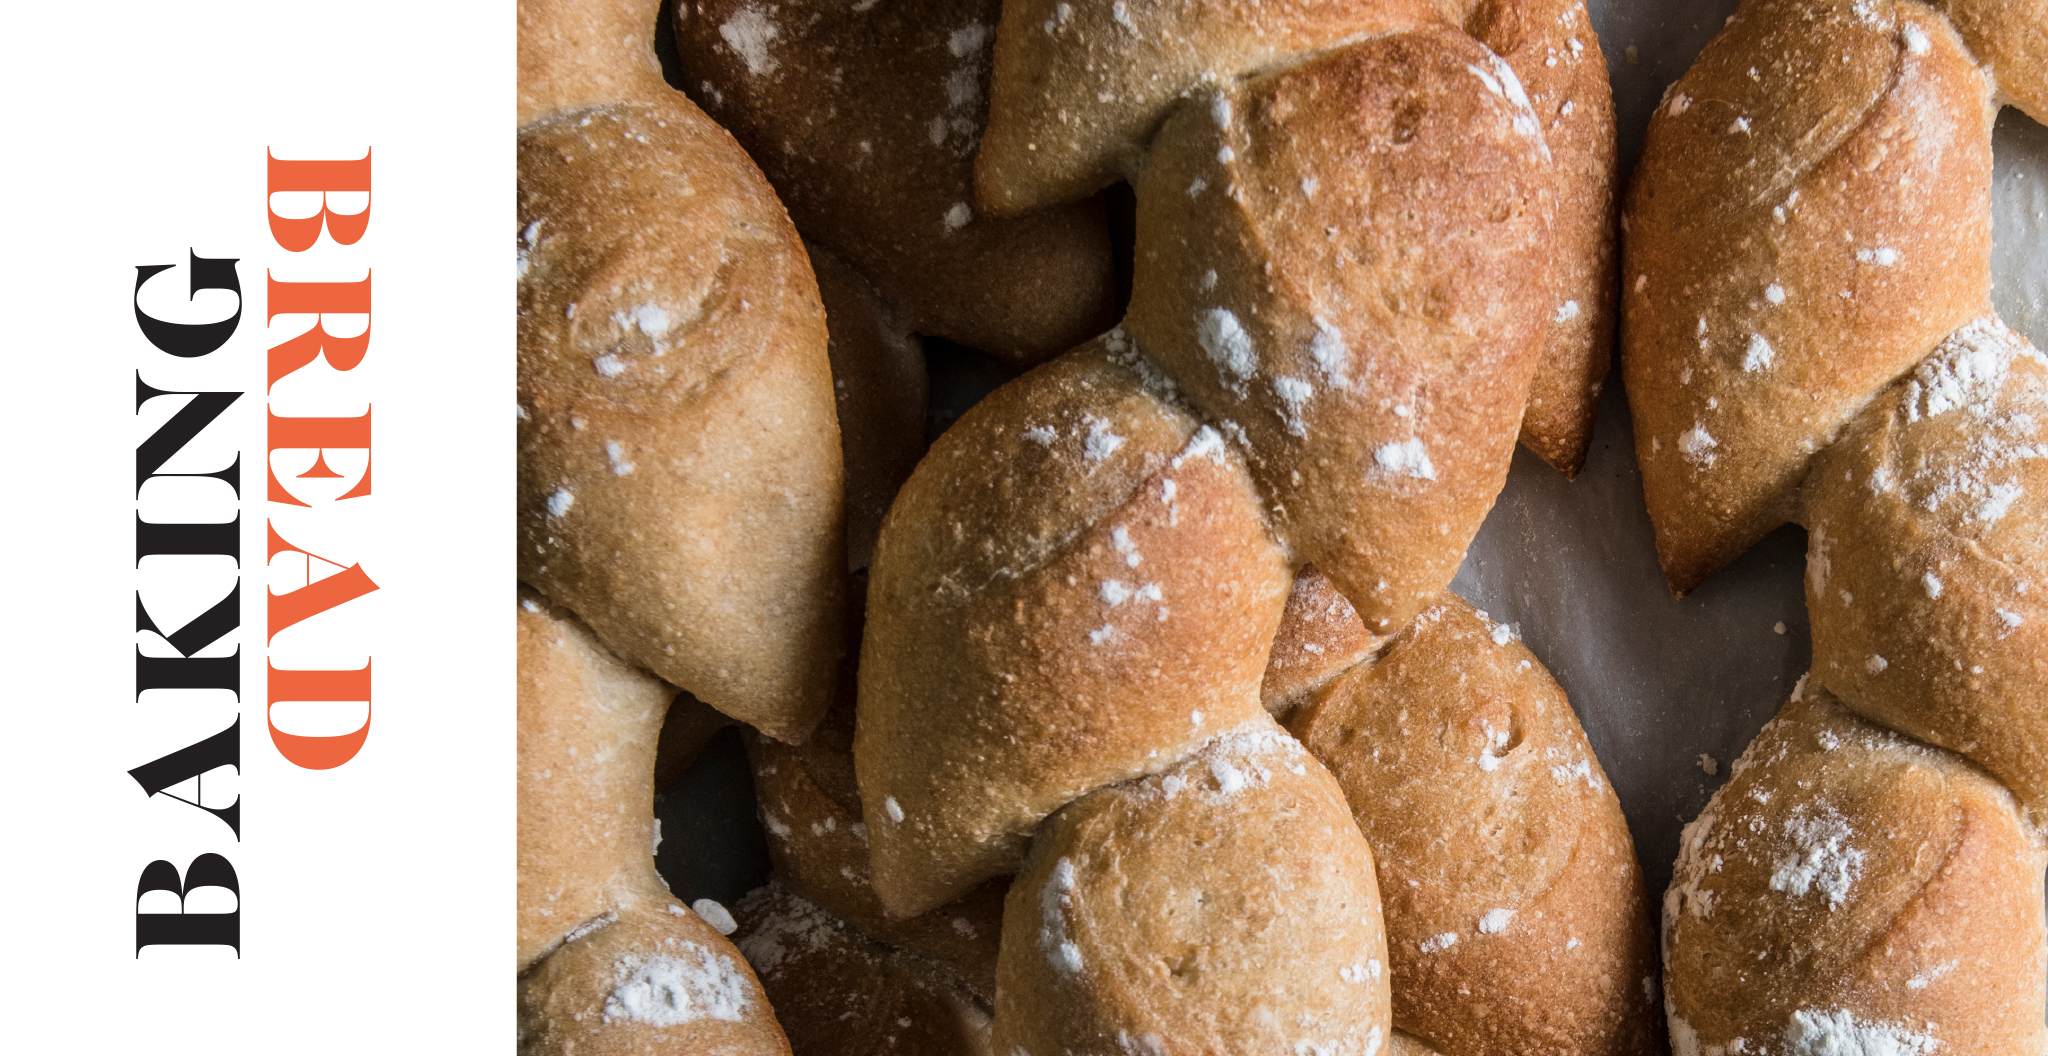
Baking bread is more about the journey than the destination. The path that’s followed might wind and wander a bit with each loaf, but lessons will be learned along the way. Long-time home bread baker and professional photographer Ryan Hulvat documents his yeasty efforts with the zeal of a proud parent – both when fragrant golden loaves are pulled from the oven and throughout the process. His passion for bread is like culinary religious zealotry and he’s always looking to attract converts.
In an age of instant gratification and the wide availability of good breads on offer at major grocers, finding motivation to bake bread from scratch may be challenging – it’s too time consuming or perhaps too meticulous. However, try viewing those supposedly negative attributes from fresh perspective and the experience becomes quietly contemplative, and at times quite therapeutic. As proficiency increases, curiosity can lead to experimentation and invention. Hulvat compares bread baking to the improvisation of jazz musicians – like John Coltrane starting with a straightforward rendition of “My Favorite Things” and bending the tune into amazing new directions.
Hulvat’s go-to reference book, The King Arthur Baking Company’s All-Purpose Baker’s Companion, provides excellent guidance – and his copy of the book bears a proud patina of drips and splashes on pages of oft-used recipes. Potential bakers not yet ready to commit to a book purchase can explore the website kingarthurbaking.com for mouthwatering photos and inspirational recipes. You never know where these delicious temptations could lead.
The Staff of Restaurant Life
Many a meal begins with the breaking of bread among friends and family members –a tradition held in high esteem at the Savory Grille in Macungie. In the quiet hours of early morning, Chef/owner Shawn Doyle heads to the kitchen to begin his bread baking ritual. His initial reward for the task comes not from the taste, but from the aroma. “I’m addicted to the smell,” he says. And, after decades of crafting countless much-anticipated loaves, this diligent chef has learned to “go with the flow” and no longer even needs to weigh ingredients. While classic French baguettes are a house staple, dining patrons embrace whatever offerings are tucked into that evening’s breadbasket – which could range from cranberry-studded pumpernickel swirl, oatmeal molasses, or Kalamata olive bread to such unexpected and exotic offerings as black sesame-turmeric bread. A changing line-up of house-made breads sold on the restaurant’s Retail platform enables fans to explore new varieties at home. And who knows, they might just contemplate trying to recreate them.
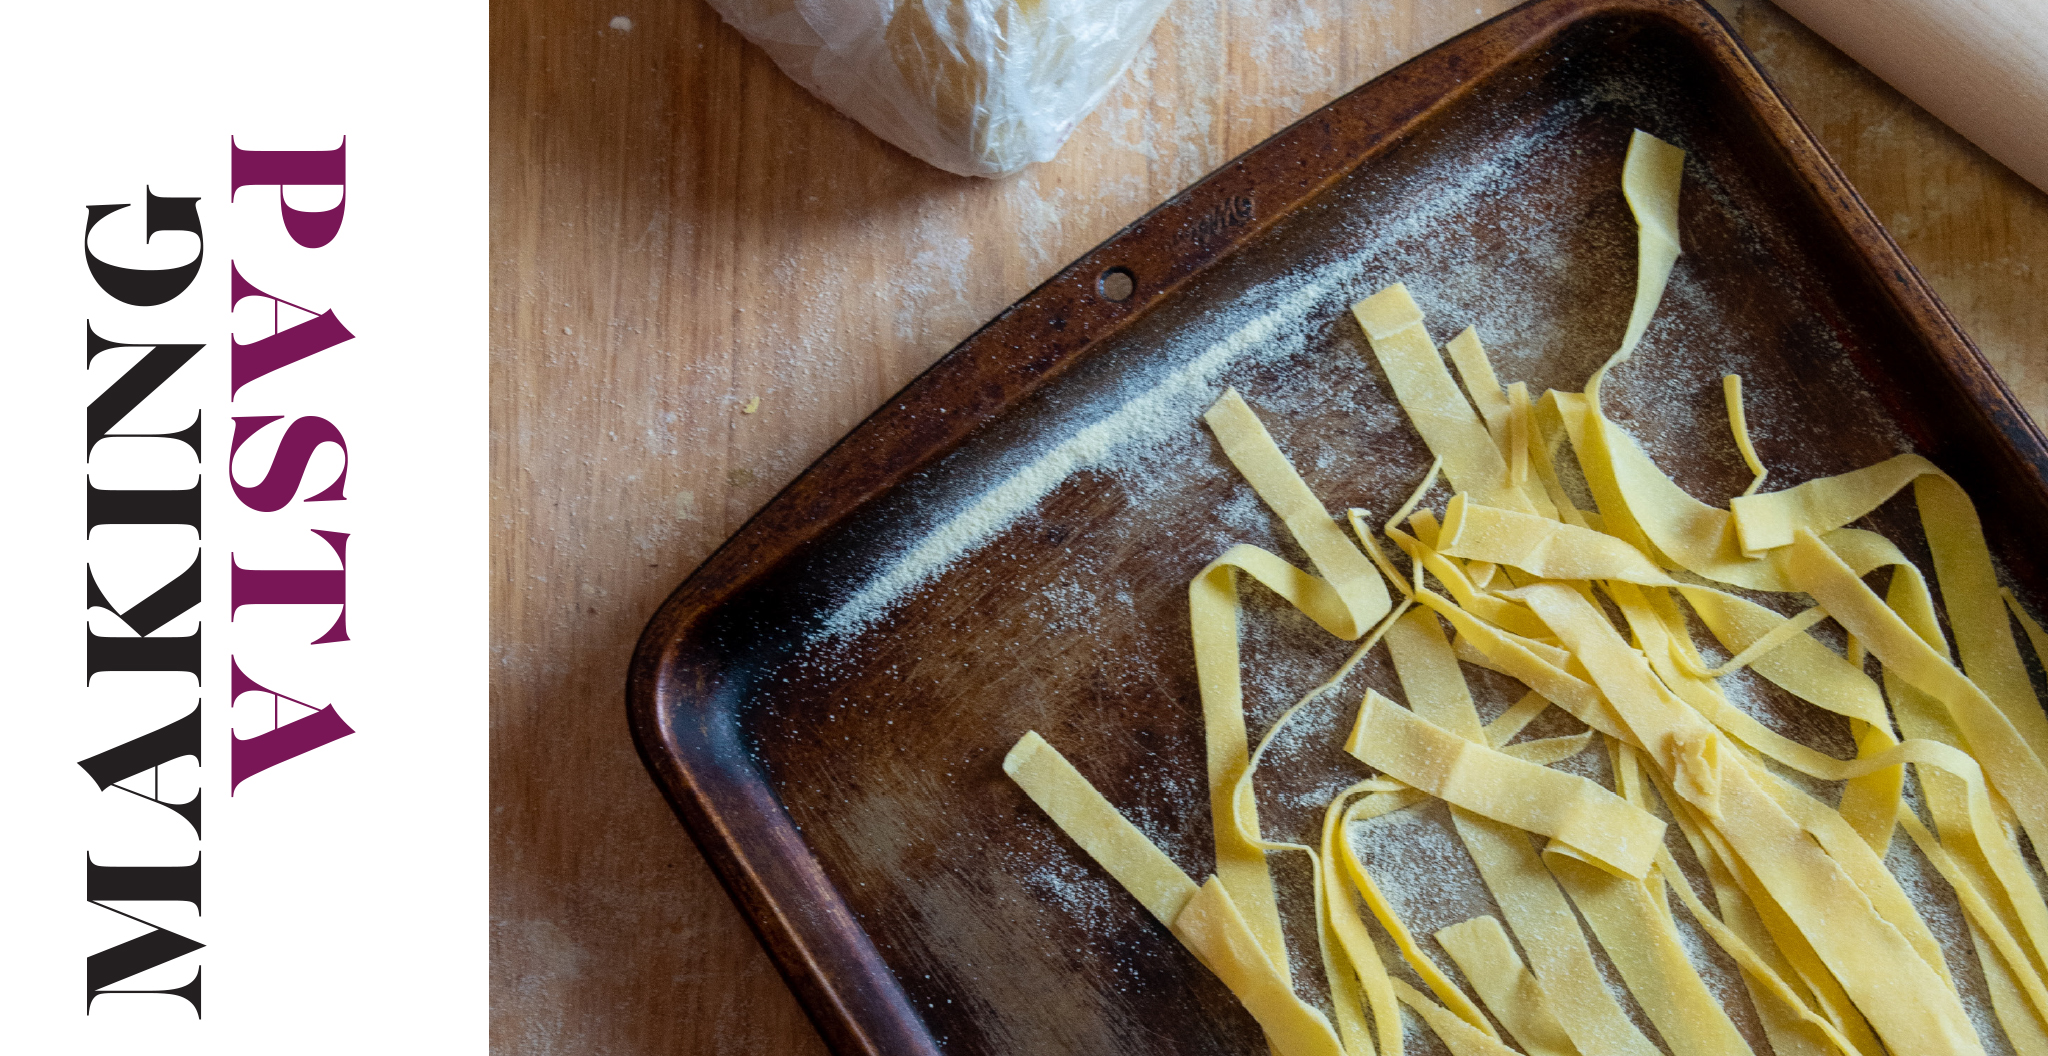
Cooking doesn’t get much easier than dropping pasta in boiling water, right? Well, yes, if adequate attention is paid to details. Otherwise, the resulting product can be mushy and under-flavored instead of chewy and flavorsome. Your mouth will appreciate the difference.
“I like a good semolina pasta,” says Shawn Doyle, chef and owner of Savory Grille, where all pastas are made in house. “It makes a difference in flavor and the amount of protein. And it’s a very firm pasta that will hold up to water and to sauces.” Although he recommends crafting homemade pasta, there are occasions when the home cook just wants to grab a fast box of curvaceous cavatappi or fusilli. In that case, avoid generic brands of pasta – which deliver less texture and protein – in favor of imported Italian products that incorporate durum wheat semolina. Look for De Cecco or Barilla, both of which are widely available, or track down harder-to-find Afeltra or Setaro pasta.
If making fresh pasta at home, Doyle warns against putting salt in the dough. “It’s going to firm it up, but it’ll fight you when you roll or extrude it,” he says. (Salting the cooking water allows the salt to be fully absorbed into the pasta for a properly seasoned taste.) To add color and taste to pasta, this chef relies on powdered vegetables, such as red beets, carrots and spinach – and also herbs. Although some pasta recipes specify adding chopped fresh parsley, dill, or other options to the dough, he eschews these “flecks” because they “create a void where the pasta can’t stick to itself.” Powdered products are available commercially, but do-it-yourselfers can dehydrate and grind their own. The powder replaces a proportionate amount of flour used in the recipe.
Before the pasta hits the water, get the proportions right: Cooking 1 pound of pasta requires 4 to 5 quarts water, preferably in an 8-quart pot. (Using insufficient water promotes stickiness.) Bring the water to a rolling boil, add 1 1/2 to 2 tablespoons salt – Doyle’s preference is kosher or sea salt – and let if return to a full boil. Toss in the pasta and stir for the first minute or two to prevent clumping. For commercial pasta, cook about 1 minute less than specified on the package for al dente – “to the tooth” – results. For casseroles of other dishes that require further cooking, reduce the time by 2 to 3 minutes.
When draining the pasta, be sure to reserve some of the cooking water. The starchy liquid is ideal for stirring into sauces, from Bolognese to pesto, because it can simultaneously dilute and thicken. And it serves as the key ingredient in creating cacio e pepe – a quick and amazingly comforting rustic dish. Never rinse the pasta after draining as this removes the starch that helps to give clinging power to sauces. In this instance, being “clingy” is a deliciously positive attribute.
As seen in the Summer/Fall 2022 Issue
Click to Visit Our Advertisers


